Last updated October 9, 2026

Free written scope consultation - allowances, timeline, and change-order rules on paper before a single trade is scheduled
DIY vs Professional Bathroom Remodeling: What’s Safe to Do Yourself
Waterproofing a shower takes less than a day and costs under $200 in materials. It’s also the single most common point of failure in DIY bathroom remodels across Los Angeles, because application errors don’t show up until the tile is already set and the grout has started wicking moisture into the wall cavity. By the time a homeowner notices the baseboard swelling or the smell of mildew behind the vanity, the fix costs more than the original remodel. This guide walks you through exactly which bathroom tasks are safe to own, which ones require a licensed hand, and how to structure a hybrid Bathroom Remodeling services project without wrecking your timeline or your warranty.
Quick Answer
The short version: painting, demo (non-load-bearing), vanity swaps, mirror and accessory installation, and finish caulking are safe for most Los Angeles homeowners with basic tools and patience. Rough plumbing, any electrical work inside walls, shower waterproofing, and tile setting in wet areas should go to a licensed professional, because mistakes in those trades are invisible until they’ve already caused thousands of dollars in damage. For a deeper look at where to draw the line, see our DIY vs Professional General Contractor: What’s Safe to Do Yourself.
Styles & brands we work with

Table of Contents
- #1: Demo – The Task With a Real DIY Ceiling
- #2: Rough Plumbing and Why Sequence Beats Skill
- #3: The Waterproofing Decision That Determines 5 Years vs 25
- #4: California’s Rule on Homeowner-Plumber Work and What It Means at Resale
- #5: Tasks That Are Genuinely Safe to Own
- #6: How to Structure a Hybrid DIY + Contractor Project
- #7: What Each Scope Actually Costs in the Los Angeles Market
#1: Demo – The Task With a Real DIY Ceiling
Demo is where DIY ambition first meets reality, and it’s also where homeowners in Los Angeles can save the most money without risking the project. Ripping out a vanity, pulling up sheet vinyl, and chipping away old wall tile is labor-intensive work that a remodeling crew bills at $50 to $90 an hour. If you’re willing to spend two weekends doing the tear-out yourself, you can easily cut $800 to $1,500 from the total project cost.
What’s safe to remove yourself:
- Cabinetry and vanities – disconnect the water supply lines, cap them, and unbolt the unit from the wall. This is straightforward work.
- Flooring – sheet vinyl, laminate, and even ceramic tile come up with a pry bar and a floor scraper. Wear eye protection and gloves.
- Wall tile in dry areas – sections away from the shower or tub surround are fair game. The tile was likely set on drywall, and the whole sheet comes down in chunks.
- Mirrors – score any adhesive with a utility knife, tape the glass in a grid pattern, and remove slowly. Large mirrors are heavy; get a second set of hands.
What to leave alone:
- Load-bearing walls – if the wall you want to open has a beam, a header, or supports a floor above, you need a structural engineer’s input before touching it.
- Shower pans and wet-area tile – this is where demo can damage the waterproofing membrane underneath, and you won’t know until the leak test fails later.
- Anything that might contain asbestos – homes in Los Angeles built before 1980 frequently used asbestos in flooring adhesive, popcorn ceilings, and drywall compound. A $30 test kit is cheaper than a remediation bill.
In our experience, the biggest demo mistake we see in Los Angeles is homeowners who tear out a shower surround and leave the old drywall behind the tile. That drywall is almost always water-damaged and needs to go before new waterproofing goes in. If you leave it, you’re building a failure into the new installation.
#2: Rough Plumbing and Why Sequence Beats Skill
Rough plumbing is the part of a bathroom remodel that happens inside the walls, before the drywall and tile go up. It includes moving drain lines, relocating supply lines, and setting the valve that controls your shower temperature. Here’s the thing most DIY guides won’t tell you: the technical skill required to solder a copper joint or glue an ABS drain line is real but learnable. The part that catches people isn’t the work – it’s the sequence.
- Rough plumbing gets installed.
- The inspector needs to see it before the wall is closed.
- Only then can waterproofing, drywall, and tile go in.
If you’ve never pulled a permit or scheduled an inspection in Los Angeles, you’re about to learn that the Los Angeles Department of Building and Safety schedules inspections in windows, not appointments. You’ll need to be home during those windows, or you’ll need a contractor who can be. And if you close the wall before the inspection happens, you’re either opening it back up or you’re selling a house with unpermitted plumbing work – which is a disclosure problem you don’t want.
Even competent DIYers shouldn’t self-perform rough plumbing if they can’t coordinate the inspection before closing the wall. This isn’t about gatekeeping. It’s about the fact that a failed inspection resets the sequence with your time and materials on the line. A bathroom remodel already takes 3 to 6 weeks in Los Angeles. Adding a failed inspection can push that to 8 weeks while you wait for a reschedule.
That said, there’s a modest middle ground. Swapping a faucet or a showerhead on existing rough plumbing is a homeowner-level task. So is replacing a toilet. Those don’t touch the in-wall work and don’t require a permit.
#3: The Waterproofing Decision That Determines 5 Years vs 25
Here’s the line that matters most in any bathroom remodel: waterproofing. This is not a tile conversation. It’s a membrane conversation. And the membrane decision determines whether your tile installation lasts 5 years or 25.
The old-school method was a PVC liner under a mortar bed, which worked fine when it was installed correctly and failed catastrophically when it wasn’t. The modern standard is a surface-applied membrane – Schluter Kerdi, Laticrete Hydro Ban, or RedGard – that gets rolled or troweled directly under the tile, creating a continuous waterproof layer between the tile and the substrate.
The materials are not expensive. A Kerdi membrane kit for a standard 60-inch tub surround runs about $150 to $250 at any tile supplier in the Los Angeles area. That’s the trap. Because the materials are cheap and the instructions are on YouTube, homeowners assume the task is simple. It isn’t.
What goes wrong:
- Seam overlap errors – the membrane must overlap by at least 2 inches at every seam, and the overlap has to be bedded in thinset or the manufacturer’s sealant. A 1-inch overlap is a slow leak.
- Corner and curb failures – the inside corners of a shower are where 90% of membrane failures happen, because that’s where multiple membrane pieces meet and where the fabric is hardest to seat without air pockets.
- Fastener penetrations – if you screw through the membrane below the water line, you’ve just created a hole in your waterproof layer. Every penetration has to be patched with a manufacturer-approved band or sealant.
- Wrong substrate – applying membrane over drywall is allowed with certain products, but applying it over the wrong drywall (anything not rated for moisture contact, or drywall that’s already water-damaged) is a time bomb.
The failure isn’t dramatic. Water seeps through the tile, saturates the substrate, and starts growing mold inside the wall. By the time you see it – a stain on the ceiling below, a musty smell, loose tile – you’re not repairing a membrane. You’re gutting the shower and starting over.
If you only hire out one part of your bathroom remodel, make it the waterproofing and tile setting in the wet areas. This is the single task that turns a $2,000 DIY project into a $15,000 remediation.
#4: California’s Rule on Homeowner-Performed Plumbing Work and What It Means at Resale
California law actually allows homeowners to perform their own plumbing work on a home they live in. You don’t need a contractor’s license to plumb your own bathroom, provided the property is your primary residence and you’re doing the work yourself (not hiring unlicensed help). But the law comes with two catches that most DIY guides skip entirely.
First, you still need a permit. The California Plumbing Code requires permits for any plumbing work that goes beyond “like-for-like” replacement – meaning replacing a faucet with a similar faucet is fine, but moving a drain line or adding a new shower valve is not. Los Angeles enforces this through the Los Angeles Department of Building and Safety, and they do check. If you sell the house and the disclosure form asks about unpermitted work, you either lie (fraud) or you disclose it and watch the buyer’s lender start asking questions.
Second, the disclosure follows the house, not the work. When you sell a Los Angeles home with a DIY-plumbed bathroom, the buyer’s home inspector will look for signs of unprofessional work: unusual drain configurations, mismatched pipe materials, valves that don’t meet current code. If the inspector flags it, the buyer either demands a repair credit or walks. Neither is a good outcome for you.
Our recommendation: if you’re planning to stay in the house for 10-plus years and you’re confident in your plumbing, the California homeowner exemption is available to you. If you’re planning to sell within 5 years, hire the plumbing out and keep the inspection records. They’re worth more than the money you save doing it yourself.
#5: Tasks That Are Genuinely Safe to Own
Not everything in a bathroom remodel needs a licensed contractor. Here’s where we tell Los Angeles homeowners to spend their DIY energy, based on a task’s skill ceiling, failure consequence, and tool requirement.
Vanity Swaps
Replacing a vanity is one of the highest-value DIY tasks in any bathroom. Most vanities in Los Angeles homes are 30 to 60 inches wide, freestanding, and secured with four bolts. You disconnect the supply lines, disconnect the P-trap, unbolt the unit, lift it out, and reverse the process. Tools required: an adjustable wrench, a screwdriver, a level, and a tube of silicone. Budget 3 to 4 hours for your first one. The only skill ceiling is getting the new vanity level and re-seating the P-trap without cross-threading the compression nuts – both learnable in an afternoon.
Mirror and Accessory Installation
Mirrors, towel bars, toilet paper holders, and shelves are all homeowner-appropriate. The one note: in bathrooms, you’re drilling into drywall that may hide plumbing or electrical lines. Use a stud finder that detects both wood and metal, and avoid drilling directly above or below any fixture. For heavier mirrors, use toggle anchors rated for the weight, not drywall screws.
Painting
Bathroom painting is mostly prep work. Los Angeles bathrooms, especially older ones in neighborhoods like Mid-City or the Valley, tend to accumulate a film of hairspray, soap residue, and humidity damage on the walls. Wash with a degreaser, patch any cracks, and use a paint rated for high-humidity environments. Semi-gloss and satin finishes hold up better than flat in a bathroom. Budget a full day for prep and two coats.
Finish Caulking Touch-Ups
Caulk is the final line of defense between your shower and the surrounding walls, and it’s one of the easiest things in a bathroom to do well. The key is using 100% silicone in wet areas (not latex caulk, which will mildew and shrink) and taking the time to tape a clean line. Most caulk jobs fail from rushing, not from lack of skill. We see more homeowners improve their caulking after one guided attempt than any other task.
These four tasks – vanity swaps, mirrors and accessories, painting, and finish caulking – account for nearly all the DIY work we’d recommend to a Los Angeles homeowner on a typical bathroom remodel. Everything else either carries too much failure consequence or requires tools and experience that don’t pay for themselves on a single project.
#6: How to Structure a Hybrid DIY + Contractor Project
Halfway between full DIY and full hire is the hybrid project, where you take on the tasks you can handle and bring in a contractor for the rest. This is a legitimate way to save money on a Los Angeles bathroom remodel, but only if you structure it correctly from the start. Our DIY vs Professional Construction: The Los Angeles Homeowner’s Decision Guide covers this balance in detail. Here’s the sequence we recommend.
- Decide your DIY scope before you call anyone. Know exactly what you’re doing yourself: demo, painting, accessories. Write it down. This is what you’ll communicate to the contractor.
- Tell the contractor your DIY scope in the first conversation. Don’t surprise them after the contract is signed. A contractor who knows you’re doing demo needs to know that the room will be empty and ready on a specific date, and that they’re responsible for everything from that point forward.
- Ask how your DIY scope affects the warranty. Most credible contractors will warrant their own work but won’t warrant the parts you did yourself. That’s fair. Get it in writing so there’s no ambiguity. At Mason Remodeling, our 365-Day Done Right Promise covers our workmanship for a full year from the completion date. If your DIY caulking fails, that’s on you; if our tile installation fails, we fix it at no cost.
- Sequence the work so your tasks don’t block theirs. If you’re painting, paint before the tile goes in. If you’re doing demo, finish demo before the rough plumbing starts. A contractor waiting on your timeline is a contractor billing you for down time.
- Stay out of the wet areas. Waterproofing, tile setting, and shower valve installation are where the sequence and the skill ceiling both spike. Let the contractor own those, and keep your DIY energy for the dry parts of the room.
One more thing about hybrid projects in Los Angeles: permits. If your remodel involves moving plumbing or electrical, the permit has to be pulled by someone – and if the contractor pulls it, the contractor becomes responsible for the code compliance of the entire permitted scope. If you’ve done some of the work yourself and it doesn’t pass inspection, the contractor is the one standing there when the inspector fails it. This is another reason to be crystal clear about scope before anything gets signed.
#7: What Each Scope Actually Costs in the Los Angeles Market
Los Angeles remodeling costs run higher than the national average – sometimes dramatically so. Here’s where the real numbers land in 2025, based on current market conditions in the city.
DIY Bathroom Tasks – Material Costs
- Vanity replacement – $250 to $900 for a mid-range vanity from a big-box store, plus $50 to $80 for new supply lines, a P-trap, and silicone.
- Wall paint, one bathroom – $60 to $120 for high-humidity paint and supplies.
- Mirror and accessory installation – $40 to $200 depending on the mirror, plus $30 for anchors and hardware.
- Finish caulking – $15 to $40 for quality silicone caulk and a caulking tool.
- Demo (if DIY) – $0 in labor, but $50 to $100 for disposal fees if you haul it yourself, or $200 to $400 for a dumpster or haul-away service.
Professional Bathroom Tasks – Los Angeles Market Rates
- Rough plumbing (shower valve, drain relocation) – $1,200 to $2,800 depending on access and scope.
- Shower waterproofing and tile setting – $2,500 to $6,000 for a standard 60-inch tub surround or 3×4 shower, including membrane, tile, and labor.
- Electrical work (lighting, GFCI, exhaust fan) – $600 to $1,800 depending on what’s already in the walls.
- Full bathroom remodel, design-build – $18,000 to $45,000 in Los Angeles for a standard 5×8 bathroom, with the range driven by material selections. A Kohler soaking tub adds $800 to $2,500. Cambria or Silestone countertops run $1,500 to $3,500. Custom tile work can push the top end well past $50,000.
If you’re price-shopping, the most useful benchmark is this: a full bathroom remodel in Los Angeles runs between $18,000 and $45,000, and the spread is driven by material choices and paint-grade versus plumbing-grade decisions inside the walls. A homeowner doing demo, painting, and accessories themselves can realistically trim $2,500 to $4,000 from the total. A homeowner doing rough plumbing themselves is betting that $1,200 to $2,800 savings against a $10,000-plus water damage repair if it leaks.
For more on how a full bathroom remodel is priced in this market, see our guide to Bathroom Remodeling in Los Angeles. And if you’re considering a larger project, our Home Remodeling in Los Angeles page covers how the same trade sequencing applies to kitchens and whole-home work.
Common Mistakes to Avoid
- Closing the wall before the inspection. In Los Angeles, unpermitted plumbing work gets discovered at resale, and the cost to correct it after the fact is three to five times what the permit and inspection would have cost up front.
- Applying waterproofing membrane over water-damaged drywall. The membrane bonds to the drywall, but the drywall is already compromised. The tile will look fine for six months, then start delaminating as the substrate fails.
- Using latex caulk in the shower. Latex caulk is for dry areas. In a wet Los Angeles shower, latex caulk will mildew, shrink, and pull away from the tile within a year. Use 100% silicone.
- Underestimating the tool cost for tile work. A wet saw, a diamond blade, a leveling system, and a grout float add up to $400 to $600 for a single bathroom. That money buys a lot of professional labor if you don’t already own the tools.
- Painting before fixing the ventilation. If your bathroom doesn’t have a working exhaust fan or the window doesn’t open properly, new paint is going to peel within two years. Address ventilation first.
- Mixing DIY and contractor work without a written scope. When the contract doesn’t specify who does what, you end up paying a contractor to redo your DIY work or fighting about whose failure caused the leak.
- Ignoring the subfloor under the toilet. If the toilet rocks or the flange is rusted, the fix is a subfloor repair, not a new wax ring. Patch the subfloor before you set the toilet, or you’ll be redoing it within a year.
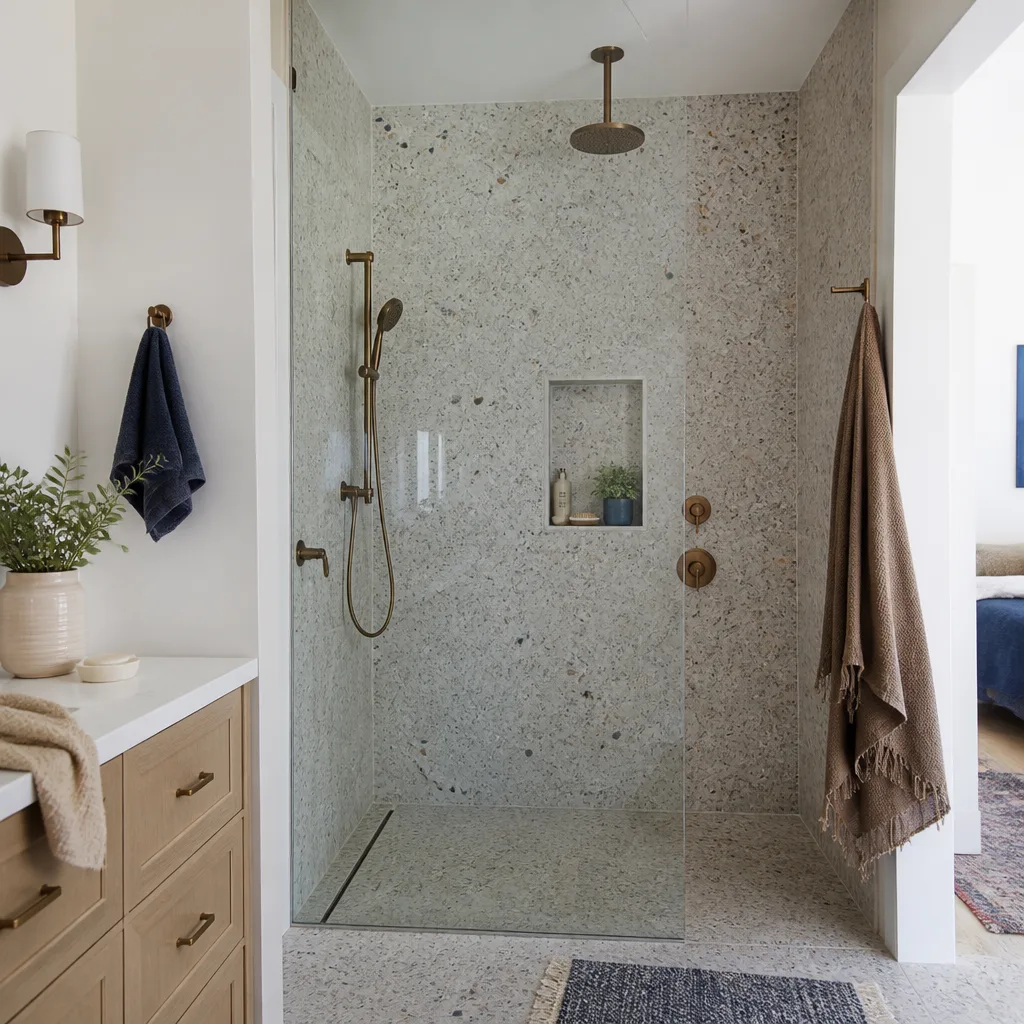
See the difference
 Before
 After
After Before
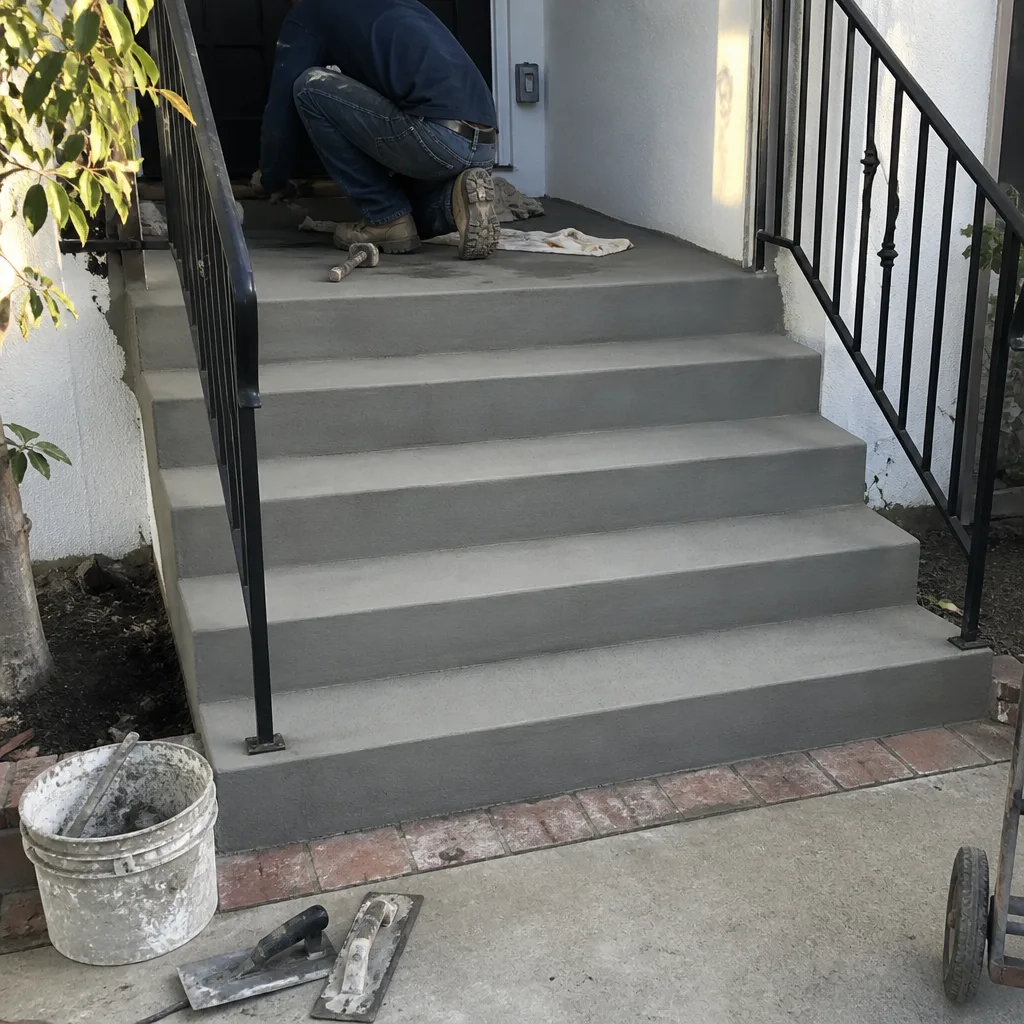 After
After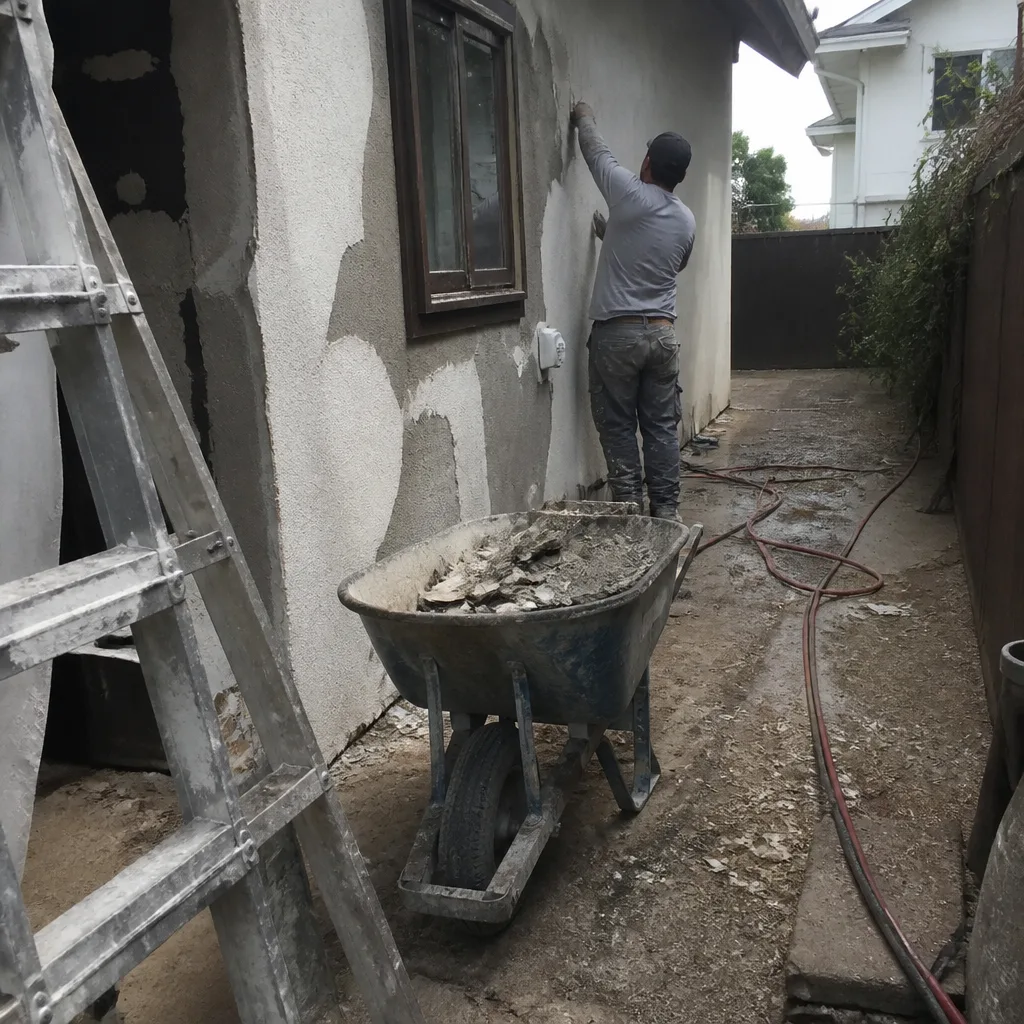 Before
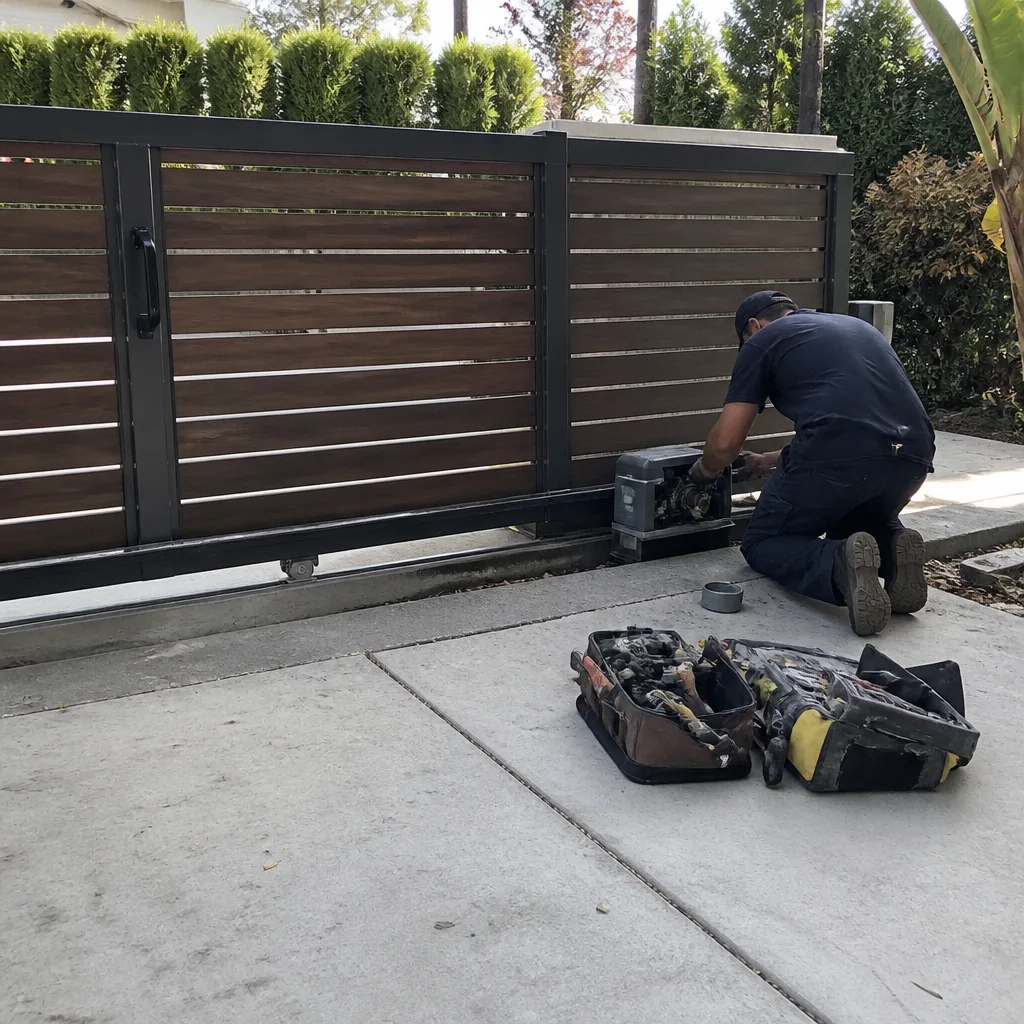 After
AfterWhen to Call a Professional
Call a professional when the work touches the water system, the electrical system, or the structural envelope of the house. That means rough plumbing, any in-wall electrical, shower waterproofing, tile setting in wet areas, and any demo that involves a load-bearing wall. These are the tasks where a mistake isn’t visible until it has already done real damage, and the repair cost dwarfs what you saved by doing it yourself.
If you’re in the Los Angeles area and you’re weighing whether a task is DIY-safe, we’re happy to give you an honest read. Mason Remodeling offers free estimates in Los Angeles – call (803) 680-2547 and we’ll tell you straight whether your project is a weekend job or a contractor job, with no pressure either way.
Frequently Asked Questions
Yes, California allows homeowners to perform their own plumbing and general construction work on a home they live in, provided they pull the required permits and do the work themselves. For more on navigating this, see our General Contractor in Los Angeles page.
A full bathroom remodel in Los Angeles typically costs $18,000 to $45,000, with the range driven by material selections and whether any plumbing or electrical work moves. DIY demo, painting, and accessory installation can trim $2,500 to $4,000 from the total.
You can apply a waterproofing membrane yourself, but the failure rate on DIY membrane applications is high, and a leak means tearing out the tile and starting over. If you only hire out one part of your remodel, make it the wet-area waterproofing and tile.
Vanity swaps, mirror and accessory installation, painting, and finish caulking are the easiest bathroom remodel tasks for a Los Angeles homeowner. These require minimal tools and their failure consequences are cosmetic, not structural.
No, replacing a vanity without moving the plumbing is considered like-for-like replacement and does not require a permit in Los Angeles. If you’re moving the sink drain or the water supply lines, that triggers a permit.
Unpermitted plumbing or electrical work can become a disclosure issue when you sell, and home inspectors may flag DIY work they consider substandard. Permitted work done by a licensed contractor with inspection records is a selling point, not a liability.
A contractor-led bathroom remodel in Los Angeles typically takes 3 to 6 weeks. A DIY remodel on nights and weekends often takes 4 to 8 months, and a hybrid approach falls somewhere in between depending on how the scope is divided.
The Bottom Line
Most Los Angeles homeowners can safely own the cosmetic and finishing work in a bathroom remodel: demo in dry areas, painting, vanity swaps, mirrors and accessories, and finish caulking. The structural, mechanical, and wet-area work – rough plumbing, in-wall electrical, waterproofing, and tile setting – is where the sequence matters more than the skill, and where a mistake costs exponentially more than the labor you save. Structure your project so the contractor owns the wet areas and the permit-critical trades, and keep your DIY scope on the tasks where a failure is cosmetic, not catastrophic. That’s the formula for a bathroom remodel that saves money without becoming a future repair bill. Explore more guides & resources to plan your project with confidence.
Written by Isaac Pruett, Owner at Mason Remodeling, serving Los Angeles since 2004.
For more on what goes into a full bathroom remodel in Los Angeles, start with our guide to Mason Remodeling home services or browse our full Bathroom Remodeling in Los Angeles page.